Hello Everybody!
In this post I’ll talk you of one of my biggest passions. For those of you who know me, they already know how much I love painting my nails and testing new techniques. Sometimes my results were surprisingly good! In those cases I shared my “achievements” through some video tutorials. For those of you that don’t know me yet and for all of you that think that Nail art is only for professionists, I suggest to take a look on my YouTube channel (Aly No Panic YouTube Channel): in my videos you can figure out that it is not necessary being an artist or a professionist for painting and decorating your nails!

Every one, helped by some practicing, can make a good decoration and being proud for it…. even if the nail art is not perfect! I talked a lot of my passion for one reason: this post is talking about Nail Art!
Where the Idea Comes From
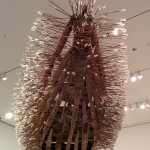
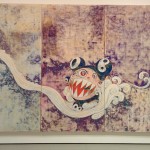
Often my best ideas born in the most unexpected moments. Some days ago, I was sorting the pictures on my Hard Disk, and I found the pictures taken in my last visit of MoMa museum (Museum of Modern Art of New York).
For those of you who are planning to visit New York, I strongly suggest to include in your plans a visit of this amazing museum! There are extraordinary permanent exhibitions and also temporary installations really interesting. During my last view (few months ago) there was an exhibition regarding the great singer Björk, for me it was awesome! There was also a pavilion dedicated to Yoko Ono life and and characters and also this exhibition was really amazing..
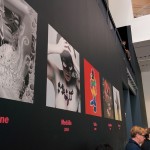
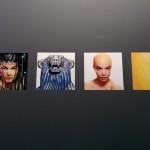
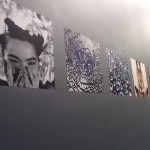
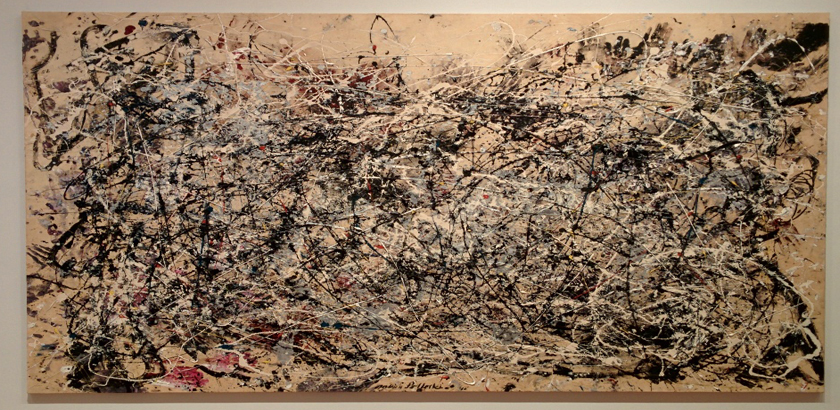
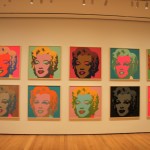
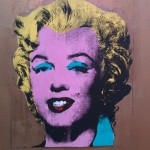
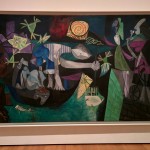
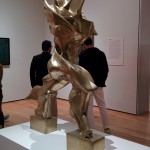
At MoMa there are a bunch of different artists, but my favorite exhibitions were four: The Futurism, Klimt, Wharrol and especially Jackson Pollock! I love Pollock and his unique way to paint, his particular use of the pure colors and above all the uniqueness of his work apparently dominated by chaos.

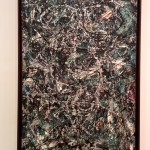
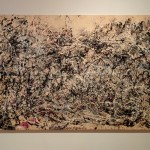
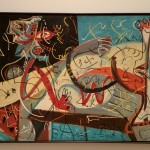

Inspired by the pictures of Pollock’s works, I thought to make a nail art unique like Pollock’s paints. In this nail art the only things that I could control was the choice of colors, but not the pattern! I thought it was a brilliant idea and I made it!
How I Made The Nail Art
According to the result I wanted, the best solution was the water marble technique, but with a little change on it. I started with the classic water marble technique, and I dropped some nail drop on the water’s surface. After that, I sprayed a tiny amount of perfume on the surface (you need a no gas perfume). The reaction was really amazing: a sort of marble pattern.
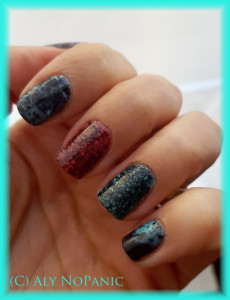
When I started I wanted to make a black manicure with an accent on the third and fourth finger of my left hand, but the result was really impressive and the technique absolutely easy and funny, so I decided to paint all my nails. On the third and fourth fingers of my left hand,as I said, I painted a colored base and the marble pattern was black, In all other fingers I made the opposite: black bases and colored marble patterns. This technique is really easy and you can make it in both hands without difficulties!
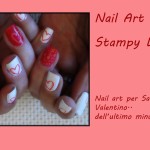
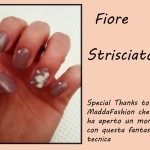
This is my result!

And this is the video tutorial in which I show you how I made it.
My Opinion Regarding Used Products
For making the nail art, I tested the used products. Here my opinions:
- The two colors (coral red and a “Tiffany” green) are produced by KIKO: I think they are really performing and they have a good coverage at the first step. Their texture is rich and I love it! I prefer rich textures compared to fluid textures.They are really good also for the water marble technique due to the fact that the drops have a good expansion in the water’s surface. My opinions are only regarding the colors I used, as you know, there could be differences in the texture between colors even if they are from the same product line.
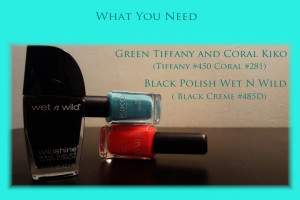
- The black polish I used was produced Wet E wild: it has a great coverage, It dries quickly and you do not need to apply twice for have a perfect color. It is good in water marble technique. Maybe the brush is a little bit tiny, but it is not a big deal.
- Base coat and top coat are both from SinfulColor: I really enjoy the base coat, it smooth your nail, it
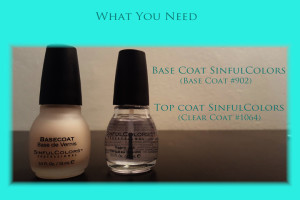 dry very fast and is a great protection for your natural nails. I’m not completely sure about the top coat. It has a great texture, is really shiny and is fast in drying. I also think that it is too much strong and aggressive and due to this it drags a little the colors. It is perfect for a monocolor manicure, but if you make a decoration it could ruin it! You have to pay a big attention when you use it, you have to be really careful and sometimes although all our attentions this top coat drag the under color. I suggest to use it on a monocolor nail polish because is great, but don’t use it on your decoration because you can ruin all your work!
I hope you enjoy this post! I think that the images explain better than words, but I liked to explain to you what inspired this nail art. I hope that my little review about the products could helpful for some of you for choosing the right product based on your needs!
See you on the next post!
Stay tuned!
Tricks on this post:
1. Water marble technique and variations;
2. Short review regarding used products;
3. Suggestion regarding best top coat based on your needs;
4. Video tutorial.